Showing posts with label cedar shingles. Show all posts

Wednesday, April 17, 2013

What Should Our 1922 Foursquare Look Like?


I drove up to our new/old house recently, and this is what I saw. The house had brown shingles - the original brown shingles. Is this what our house looked like 91 years ago? I tried to imagine it? Well, I think this is as close as we're going to get to seeing the original house but, alas, it only lasted a day or two.

Back when I posted about the siding being removed and about all the layers of construction, I mentioned that our contractor had informed us that we would not be able to restore or paint the original cedar shingle siding.  I had really hoped to paint the old shingles, I knew I did not want a dark brown house.

HGTV Dream Home exterior-NuCedar Shingles

So square one. Then I thought I would like to simulate the original shingles with a vinyl or pvc shingle product. We went down that road and the product that I really, really liked was pvc shingle by NuCedar Mills. It is gorgeous and it looks like the real thing. Unfortunately, it was prohibitively expensive.

House under construction at East Beach sided with Hardie Plank.
 
Contractor Chris recommended using a James Hardie Siding aka Hardie Plank. He said that wood siding would have been an authentic material in 1922 and Hardie Plank looks like wood but is even better than wood. Best of all, the price was in the ball park! Hardie Plank is made primarily of cement. It is great in all kinds of bad weather and it won't burn. It is what they are using to build the new houses at the East Beach neighborhood in Norfolk. Sounds good!

That decision was made and then came the question of color.  Hardie comes in about 20 colors or primed and ready to paint. The pre-painted version won't need to be painted for about 20 years. Painted it is! How did we decide on the color? I eliminated beige, white and cream right away. Our last two houses were beige - don't want the same thing. So, pretty much, our choices boiled down to green, yellow, blue or gray.

Red brick and cream stucco house right next door

So I surveyed the street.  There is a pretty green house diagonally across the intersection from us. There are a couple versions of cream and white nearby, another green and a few red brick.  Also a pretty gray diagonally behind us and a yellow house directly behind us. Blue it is!

James Hardie siding in Boothbay Blue

James Hardie only makes siding in one blue shade and it is barely blue.  Though it looks blue in photos, it is really more gray than blue called, Boothbay Blue. We hear new siding will begin to be applied to our house THIS WEEK!

Stay with me ...

Saturday, April 6, 2013

Mission: Full Steam Ahead!


Oh my gosh! So much has happened this week with the renovation projects.

Yes, projects with an "S". I am going to let the pictures speak for themselves (mostly).


This is where we started 24 days ago


Most of the two layers of siding removed, glass block removed and windows removed from back of the house.  That is Nate and Joe with the North Shore Construction crew on the deck.


Both layers of siding completely removed from back.  House wrapped (yay, 'cause there's rain coming!).
AND new windows installed.  Wow!
 
Great picture of all the layers. The dark brown is the original layer of cedar shingles. I have seen this pattern elsewhere in Ghent, alternating rows of a small reveal then a large reveal of shingle siding.  Can you imagine the time and care it took to put each little shingle on creating a pattern? So sad we can't preserve them but they are riddled with nail holes from the layer of vinyl siding (the cream colored row) and they are very brittle.
 
Under the original layer of shingles was a layer of paper.  Nate and Joe said the paper was only to help keep air from flowing through the boards but basically that was it for insulation in 1922.  From the inside to the outside the layers were: plaster, wood lath, the framing studs, the exterior horizontal sheathing boards (no plywood), building paper then shingles.
 
Then sometime after the shingles were put on but before the vinyl siding was added, holes were drilled in the siding and insulation was put between the sheathing boards and the wood lath.  (See the line of circles above the window?) We know it was done in that order because the bottom layer of shingles had the drill holes.  So, the top shingle was removed, the hole drilled, the top shingle replaced.  If the insulation had been done originally there would be no drill holes in the shingles. But regardless, it saved us from having to add insulation!
 
 
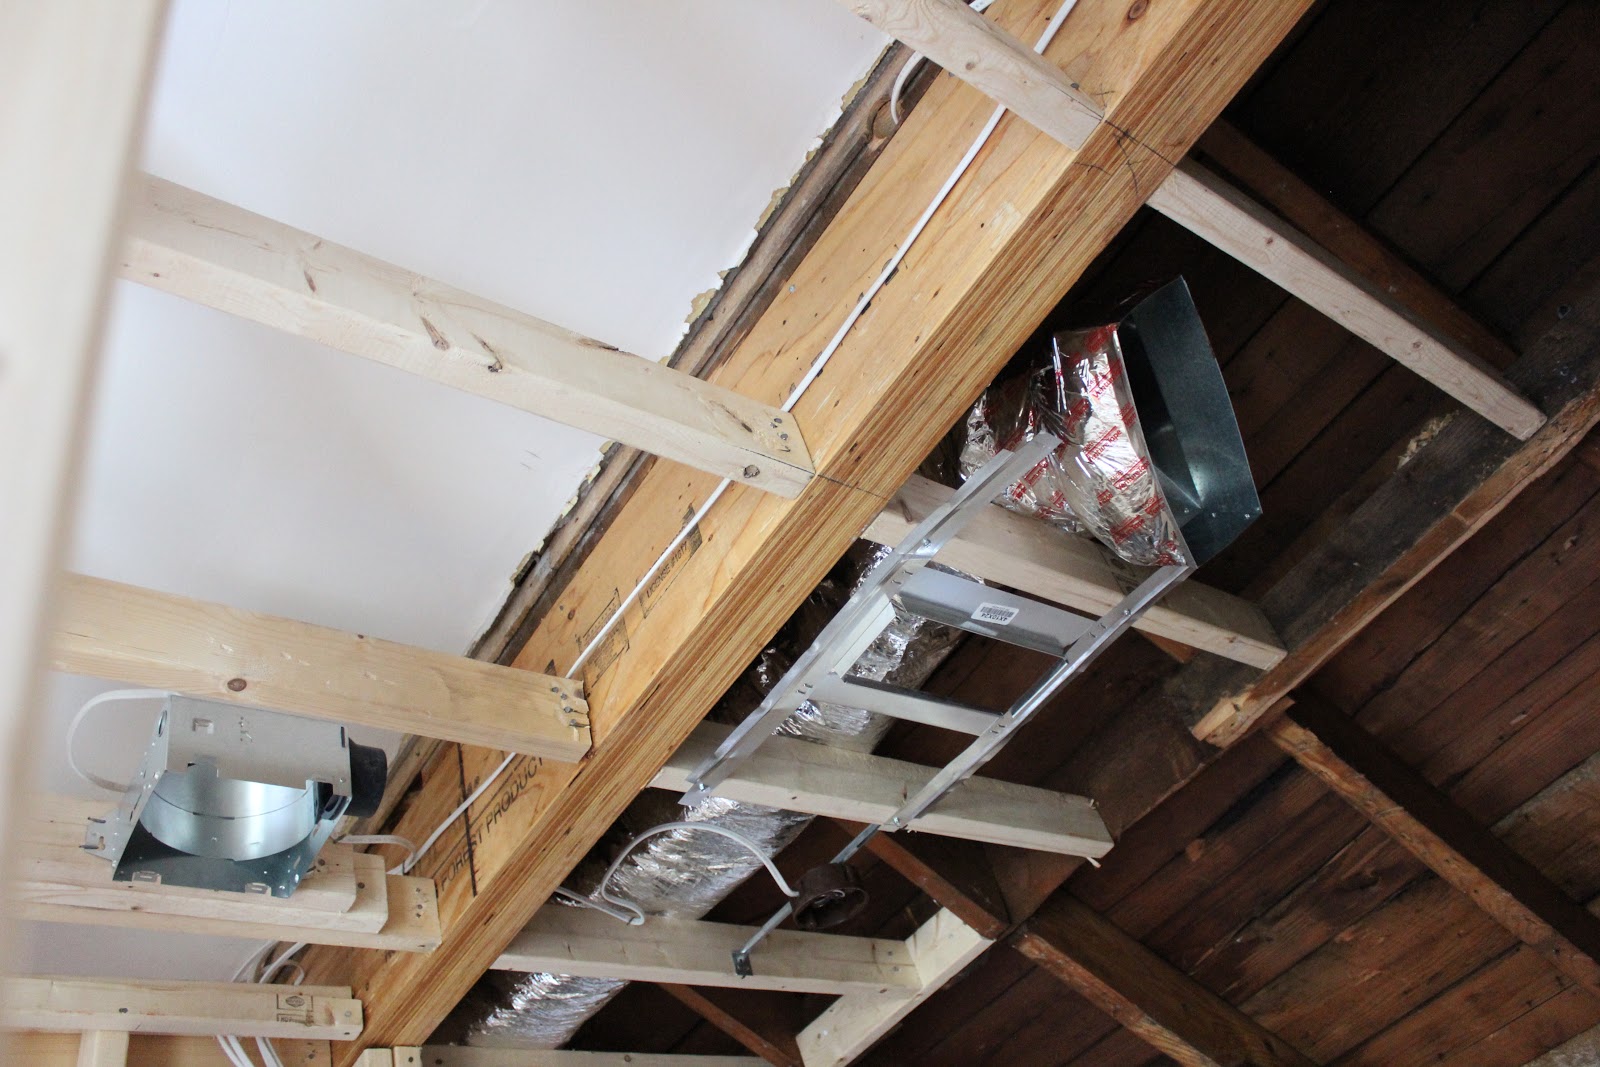
Now for the other project.  That is the duct for the new heating and AC in the bathroom and closet.  There was that long skinny room all the way across the back that used to be a porch, later made a laundry room and master bathroom.  But neither of those rooms had heat or air!
 
This is southeastern Virginia - I just cannot imagine our 90 degree days in August with no air conditioning in the bathroom? Is it just me? The previous owners were troopers, what else can I say?
 
 
Windows in the bathroom!
The dumpster was delivered. Nate is supervising!
 
Joe with Elliott, the dumpster delivery guy with
Bay Disposal & Recycling.  OK, I might have
promised Elliott his picture would go viral?